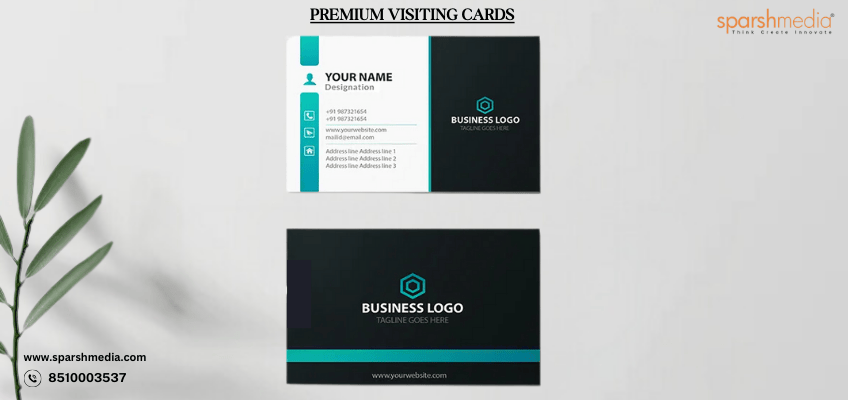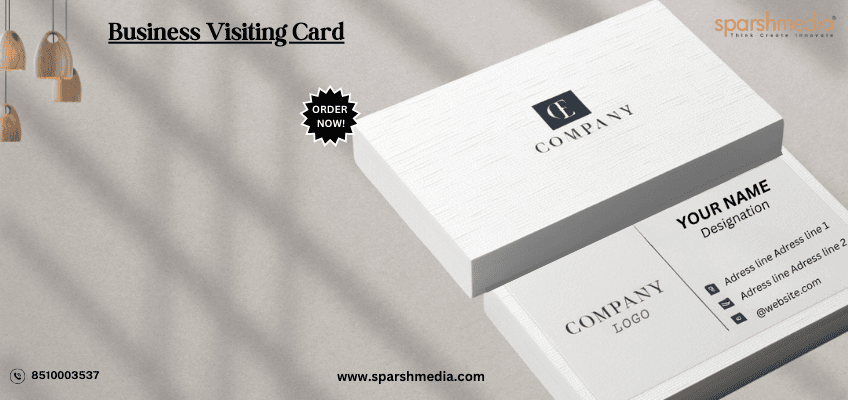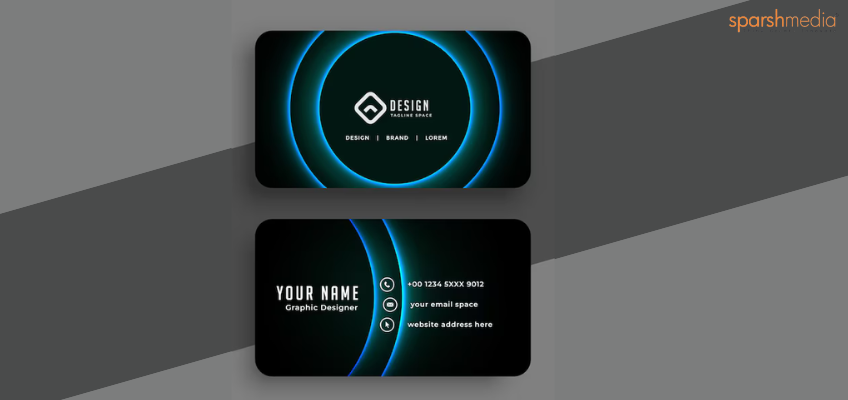
Photoshop is one of the most popular tools for graphic design because of its flexibility and precision. It allows you to create custom templates, integrate brand elements, and ensure your design is print-ready.
If you don’t want to start from scratch, platforms like GraphicRiver and Envato Elements offer a wide range of customizable business card templates to kick-start your design process. These templates are designed to meet various professional needs and styles, giving you a head start.
How to Create a Visiting Card in Photoshop
Creating a professional and visually appealing visiting card is easier than you think, especially when using powerful design software like Adobe Photoshop. This tutorial will guide you through the process, step by step, so you can design a visiting card that reflects your brand’s personality and professionalism.
Why Use Photoshop for Visiting Cards?
Adobe Photoshop is an industry-standard tool for graphic design. It provides flexibility, a wide range of creative features, and high-resolution output, making it perfect for creating visiting cards that stand out.
Steps to Create a Visiting Card in Photoshop
1. Open Photoshop
Begin by opening Photoshop on your computer. If you’re starting from scratch, ensure that your Photoshop software is up-to-date for access to the latest features.
- Go to File > New to create a new document.
- Set the dimensions for your card. A standard size for visiting cards is 3.5 x 2 inches with a 300 DPI resolution for high-quality printing. Add a 0.25-inch bleed area on all sides for printing purposes.
2. Select Tutorial-Shapes
Use the Shape Tool in Photoshop to create the basic layout or placeholders for elements.
- Choose from pre-defined shapes or draw custom rectangles and circles for placing your logo, text, and design accents.
- This helps in structuring the design before you enter specific details.
3. Click Preset Type Option
To add text, select the Text Tool (shortcut: T) and click on the canvas where you want the text to appear.
- Photoshop’s text presets allow you to experiment with font styles, sizes, and alignments.
- Use your brand’s font style or choose professional and readable fonts like Helvetica or Arial for clarity.
4. Enter Details of the Business
Insert the essential details of your business:
- Your name and designation.
- Company name and logo.
- Contact information, such as phone number, email, and website.
- Your business address, if applicable.
Ensure all text is aligned correctly and maintains a clean, uncluttered look.
5. Create Boundary Lines
Using the Line Tool, add subtle boundary lines to separate different sections of your card, such as the contact information and the logo area.
- Use these lines to guide the viewer’s eye across the card in a logical flow.
- Stick to simple, elegant designs to maintain professionalism.
6. Insert the Information
With all the placeholders ready, start inserting your business’s specific information.
- Add your logo at the top or in a corner for visibility.
- Use layers to adjust each element’s position until the design looks balanced.
- Keep adequate spacing between elements to avoid overcrowding.
7. Save and Print
Once your design is complete:
- Save the file in PSD format to retain layers for future edits.
- Export it in high-resolution PDF or JPEG format for printing.
- If you’re printing with a service like Sparshmedia, follow their specific file requirements, such as CMYK color mode and bleed settings.
For best results, work with professional printers like Sparshmedia, who specialize in producing high-quality visiting cards. They ensure your design translates perfectly into a tangible card.
Tips for Creating an Impressive Visiting Card
- Use Brand Colors: Incorporate your company’s brand colors to maintain consistency.
- Keep It Minimal: Avoid clutter by focusing on essential information and leaving white space for a clean look.
- Experiment with Finishes: Choose unique finishes like matte, gloss, or embossing for added sophistication.
- Proofread: Double-check for typos or errors before sending the file to print.
Visit Our Instagram Account- Sparshmediaprint


